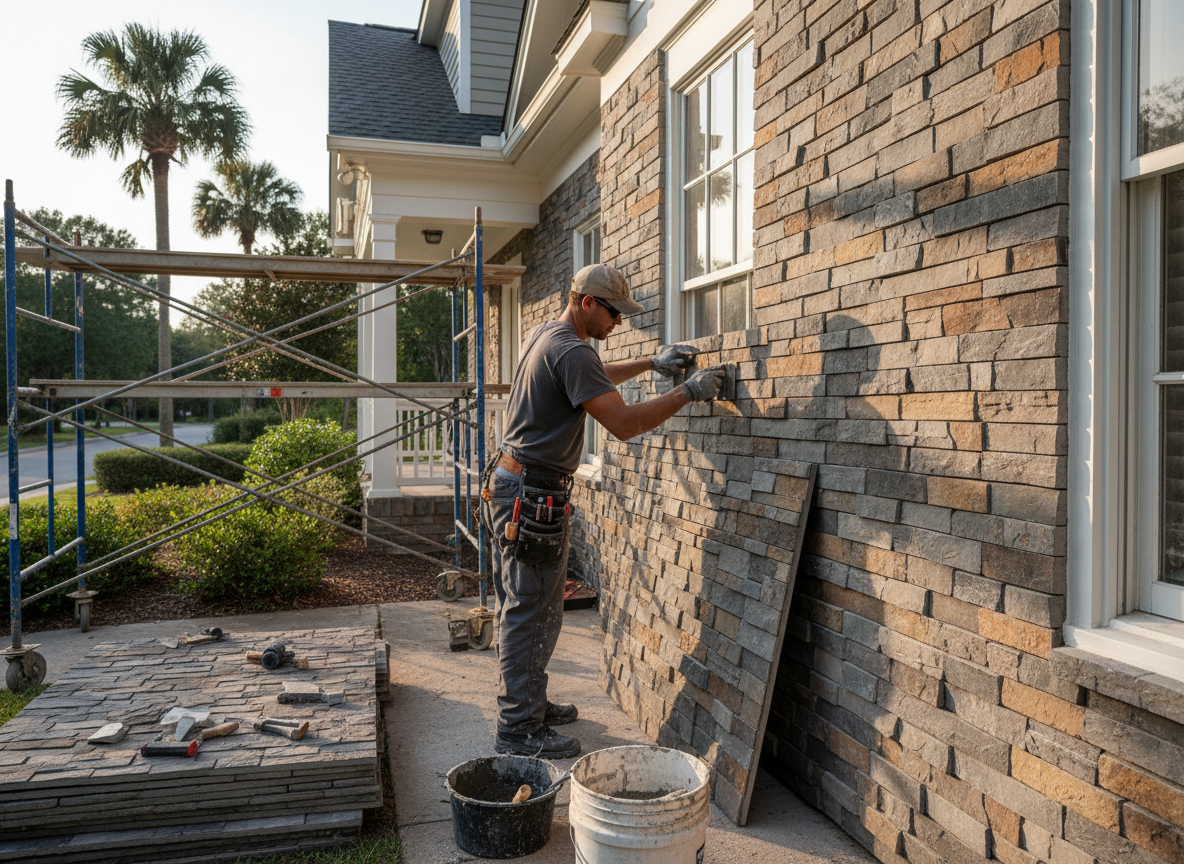
Faux stone siding uses lightweight manufactured veneer panels that mimic natural stone without requiring the heavy footings needed for real masonry. In Montgomery, Ohio, many homes built in the mid-20th century have wood or fiber cement substrates that must be checked for rot before panels go up, especially on north-facing walls where moisture lingers. Proper drainage planes and corrosion-resistant fasteners prevent water from getting behind the veneer during spring rains common in Hamilton County.
Installation starts with a level base track and proceeds upward with staggered joints to avoid straight seams that telegraph through the finish. Corners and window returns need pre-formed pieces so the pattern looks continuous rather than pieced. Homeowners often overlook how the material expands and contracts with temperature swings between summer heat and winter freezes, so expansion gaps at terminations are essential to avoid cracking.
Code compliance in Montgomery requires the assembly to meet local wind-load and fire-rating standards for exterior cladding. We always verify that the chosen profile meets the manufacturer's fastening schedule for the specific substrate rather than using a one-size-fits-all approach. Skipping this step is the most common reason panels loosen after a couple of seasons.
Substrate Assessment
Before any faux stone goes on, we inspect sheathing and flashing around windows and doors. Older Montgomery homes frequently have original felt paper that has deteriorated, so we replace it with modern housewrap compatible with the veneer system. This step avoids callbacks when water finds its way behind the new siding during heavy downpours.
Technician insight
In Montgomery the thing that catches most people out with faux stone siding is the age of the sheathing on 1960s and 70s homes near the original downtown. Once you pull the old siding you often find deteriorated felt that needs replacing before the veneer goes on, otherwise moisture gets trapped behind the new panels during Ohio winters.
North Elevation Repair
Homeowner called after noticing panels separating near the garage on a Montgomery street. We found the original sheathing had absorbed water from a missing flashing detail. Replaced the compromised board, installed new housewrap, and re-set the faux stone with correct fasteners and drainage gap. Panels have stayed tight through the following winter.
How it works
- 1
Site Evaluation
We walk the property and check existing siding condition, substrate, and drainage details around the home.
- 2
Material Selection
Homeowner chooses profile and color; we confirm quantities and corner pieces needed for the elevation.
- 3
Preparation
Remove old cladding where required, install new weather barrier, and set base track level.
- 4
Installation
Apply panels with manufacturer-specified fasteners, maintaining staggered joints and proper expansion gaps.
- 5
Final Inspection
Check all terminations, clean residue, and confirm drainage paths remain clear.
Pricing
Cost depends on square footage, substrate repairs, and profile chosen. Upfront quotes provided after site visit.