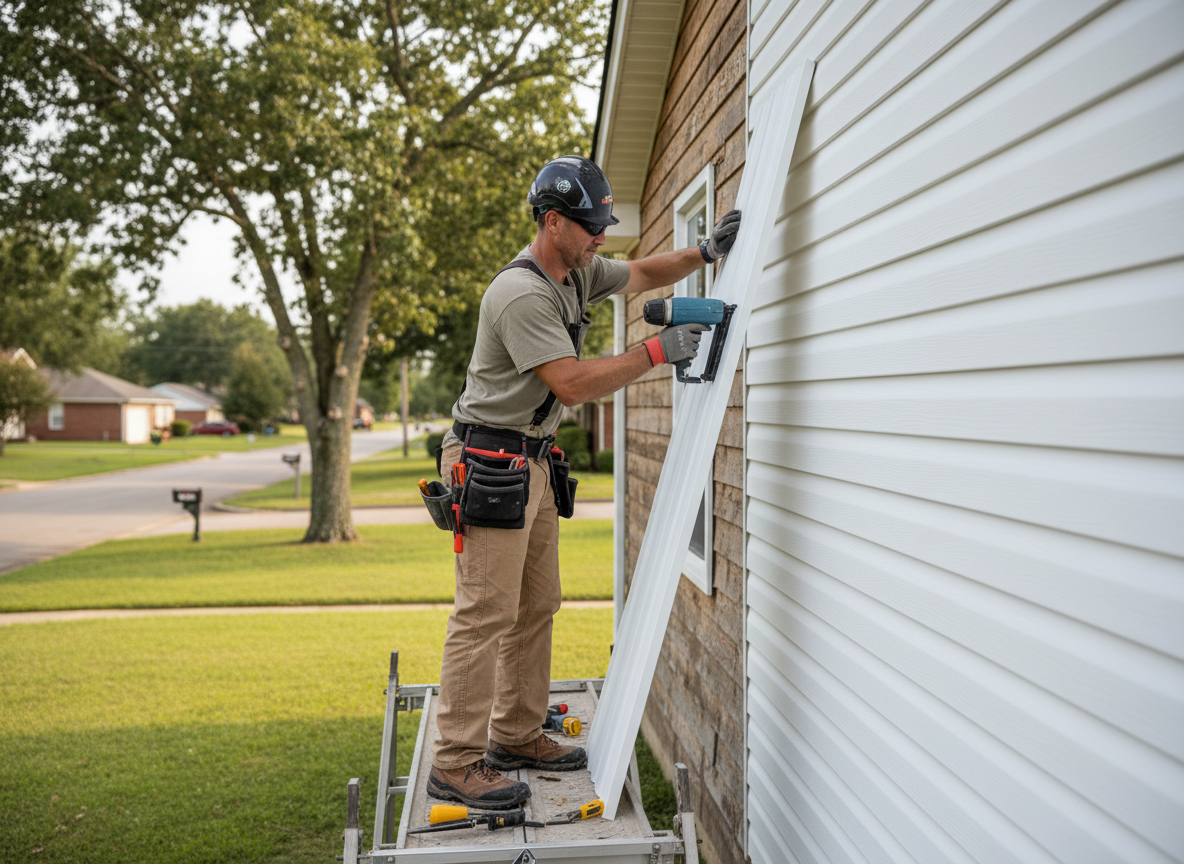
Plastic siding, commonly called vinyl, expands and contracts with temperature swings common in the Montgomery area. Installers leave proper gaps at ends and use loose nailing so panels can move without buckling when winter lows hit and spring warms return. Older homes in Montgomery often have original wood trim that has shifted over decades; matching new J-channel and corner posts to those uneven surfaces requires cutting and shimming on site rather than ordering pre-cut kits.
Moisture behind the siding is a frequent issue on homes built before modern housewrap standards. We remove damaged sections, check for soft sheathing, and install new housewrap or flashing at windows and doors before re-siding. In the Montgomery area, many two-story homes have gable ends that face prevailing winds, so we pay extra attention to top-course locking and vented soffit integration to prevent wind-driven rain from reaching the wall cavity.
Color retention matters here because summer UV is strong and winter road salt can stain lighter panels. We recommend mid-tone colors that hide minor fading and advise homeowners to rinse siding yearly rather than use pressure washers that can crack brittle older plastic. When replacing only one elevation, we match the existing profile and thickness so the repair does not telegraph from the street.
Technician insight
In Montgomery the thing that catches most people out with plastic siding is how the older split-level homes in the county expand and contract more than newer builds because the original sheathing has dried out; skipping the extra gap at gable ends leads to panels that pop in the first hard freeze.
Gable End Buckling After Winter
Panels on the north gable of a 1970s home in Montgomery had buckled after repeated freeze-thaw cycles. We found the original install had nailed the top course tight with no room to move. We removed the damaged rows, added new starter strips with proper gaps, and reinstalled matching panels so the wall could breathe with temperature changes.
How it works
- 1
Site Assessment
We walk the home, note existing panel condition, trim alignment, and any soft spots in sheathing.
- 2
Material Selection
We choose panel thickness and profile that match the original siding while allowing for local temperature movement.
- 3
Removal and Prep
Damaged sections are removed, housewrap and flashing are inspected or added, and trim is shimmed level.
- 4
Installation
New panels are hung with expansion gaps, nailed loosely, and finished with matching corner posts and J-channel.
- 5
Final Walk-Through
We check locking, caulk where needed, and confirm drainage paths remain clear.
Pricing
Pricing varies with home size, number of stories, and whether only one side or the full house is replaced.